
Test Environment - Self-Onboarding Guide
From account creation to deposit of your first Ethereum validator
Step 1: Navigate tohttps://test.validatormarket.com/
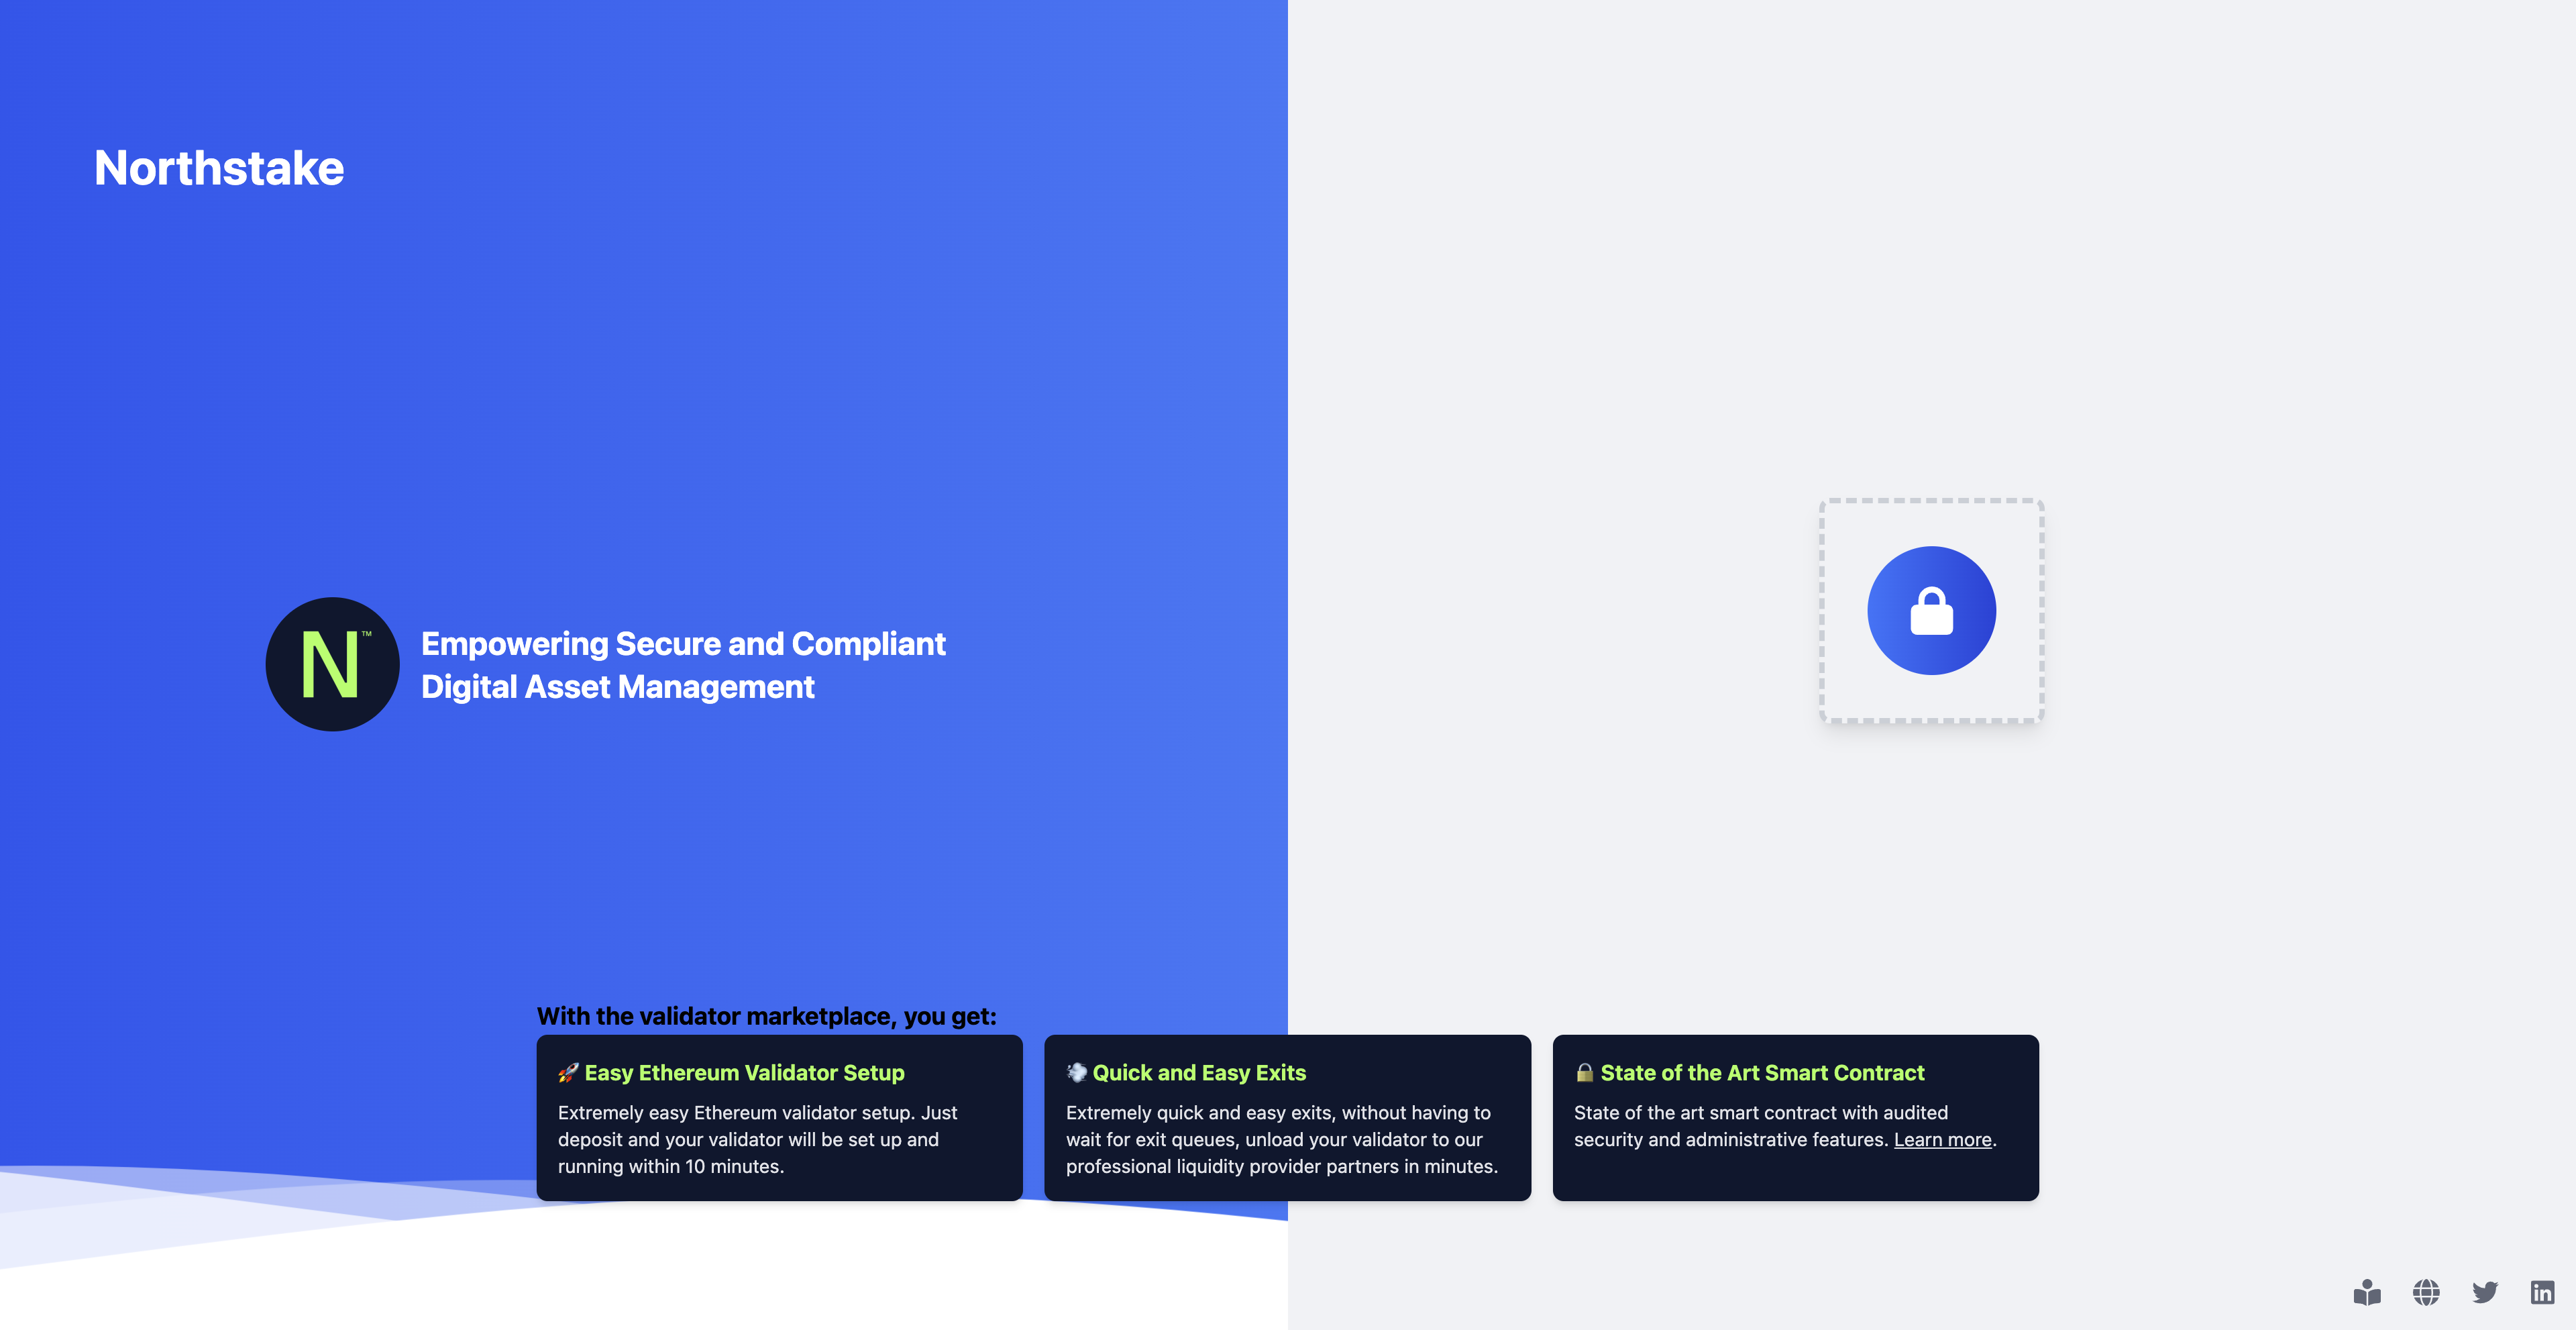
Once on the website, click the lock icon in the right, which will take you to the login screen.
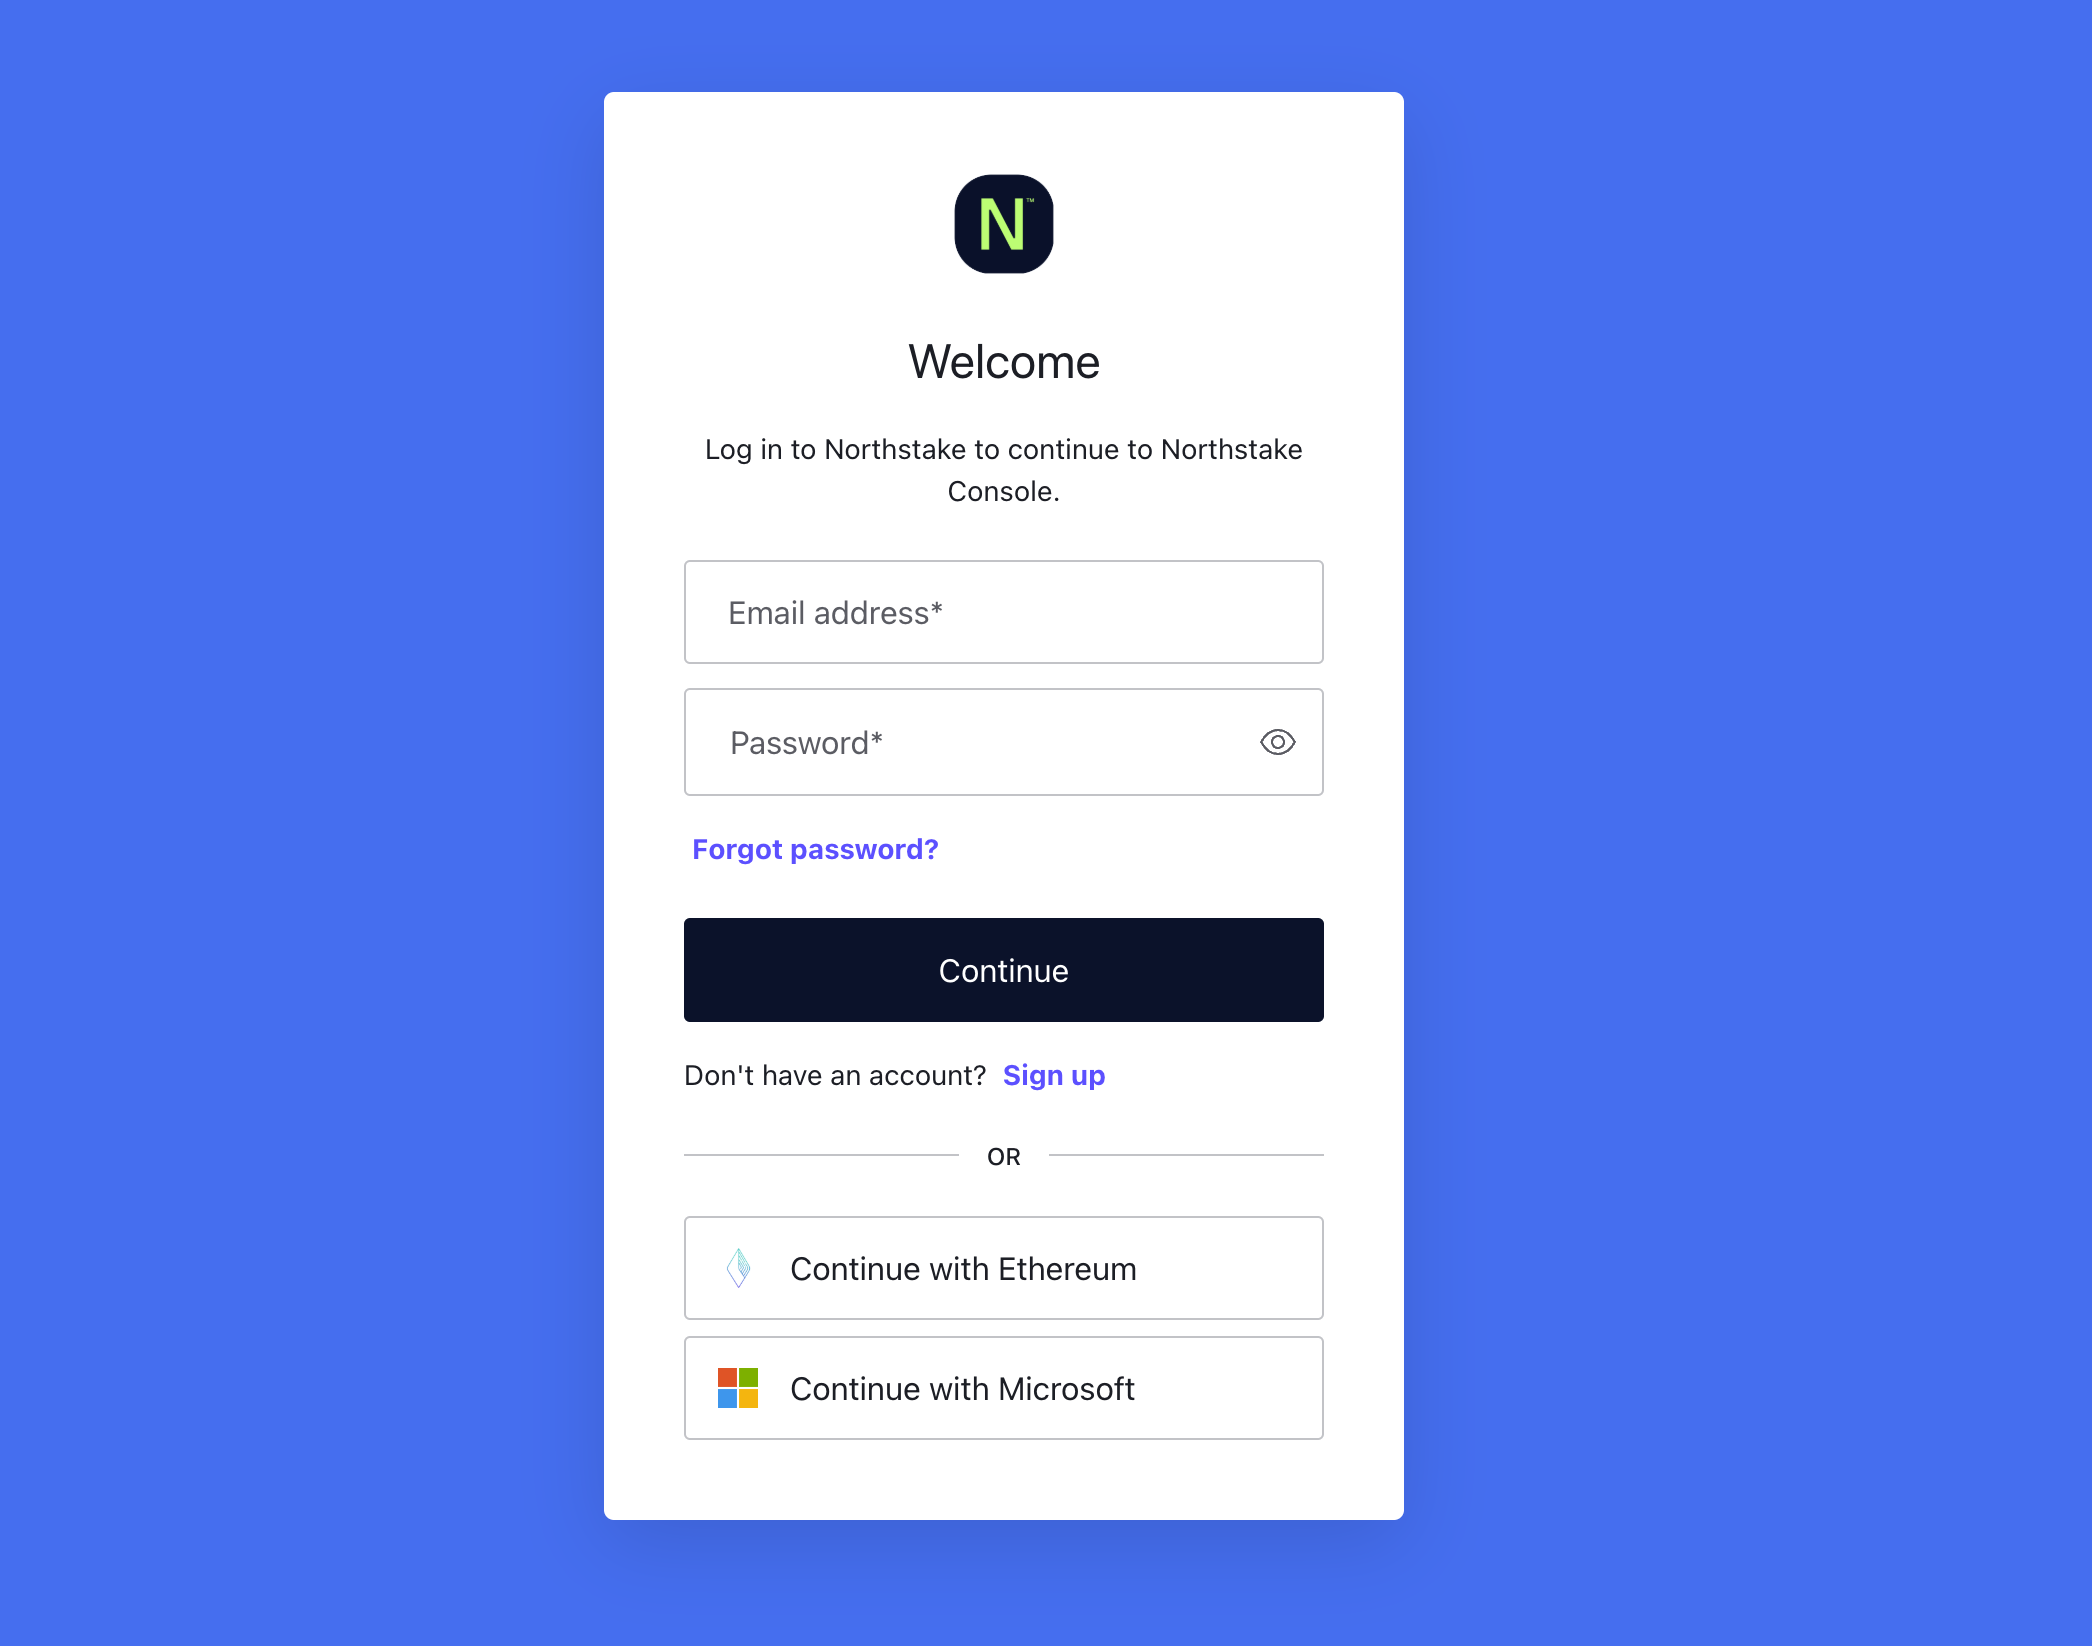
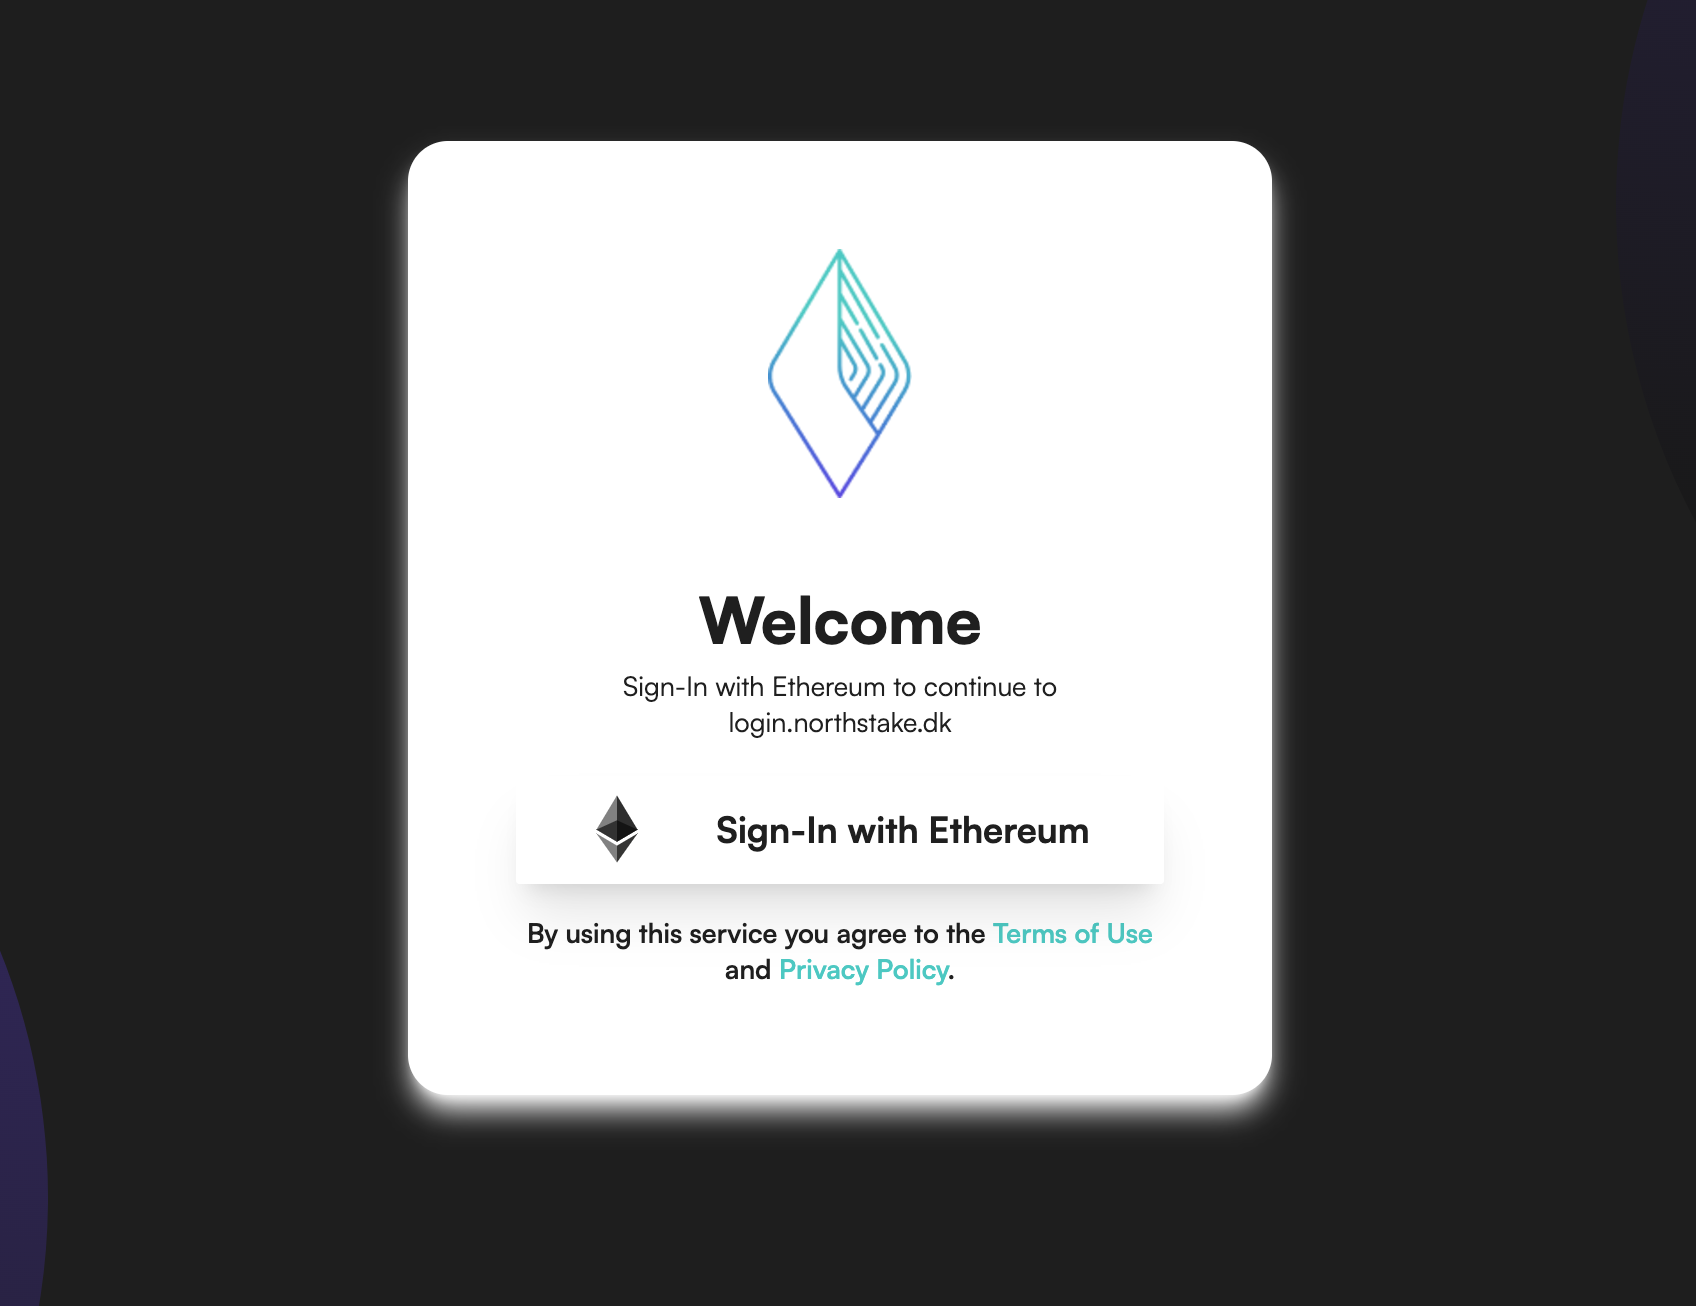
It is possible to create an account with a regular organizational email account or with an Ethereum wallet of your choosing. In this scenario, we are gonna use the Ethereum option to sign up.
Once signed in, we are prompted to whitelist a deposit address.
Be considerate when whitelisting the deposit address, as it will be the only wallet with the right to create validators.The Deposit address can always be changed at a later stage if needed.

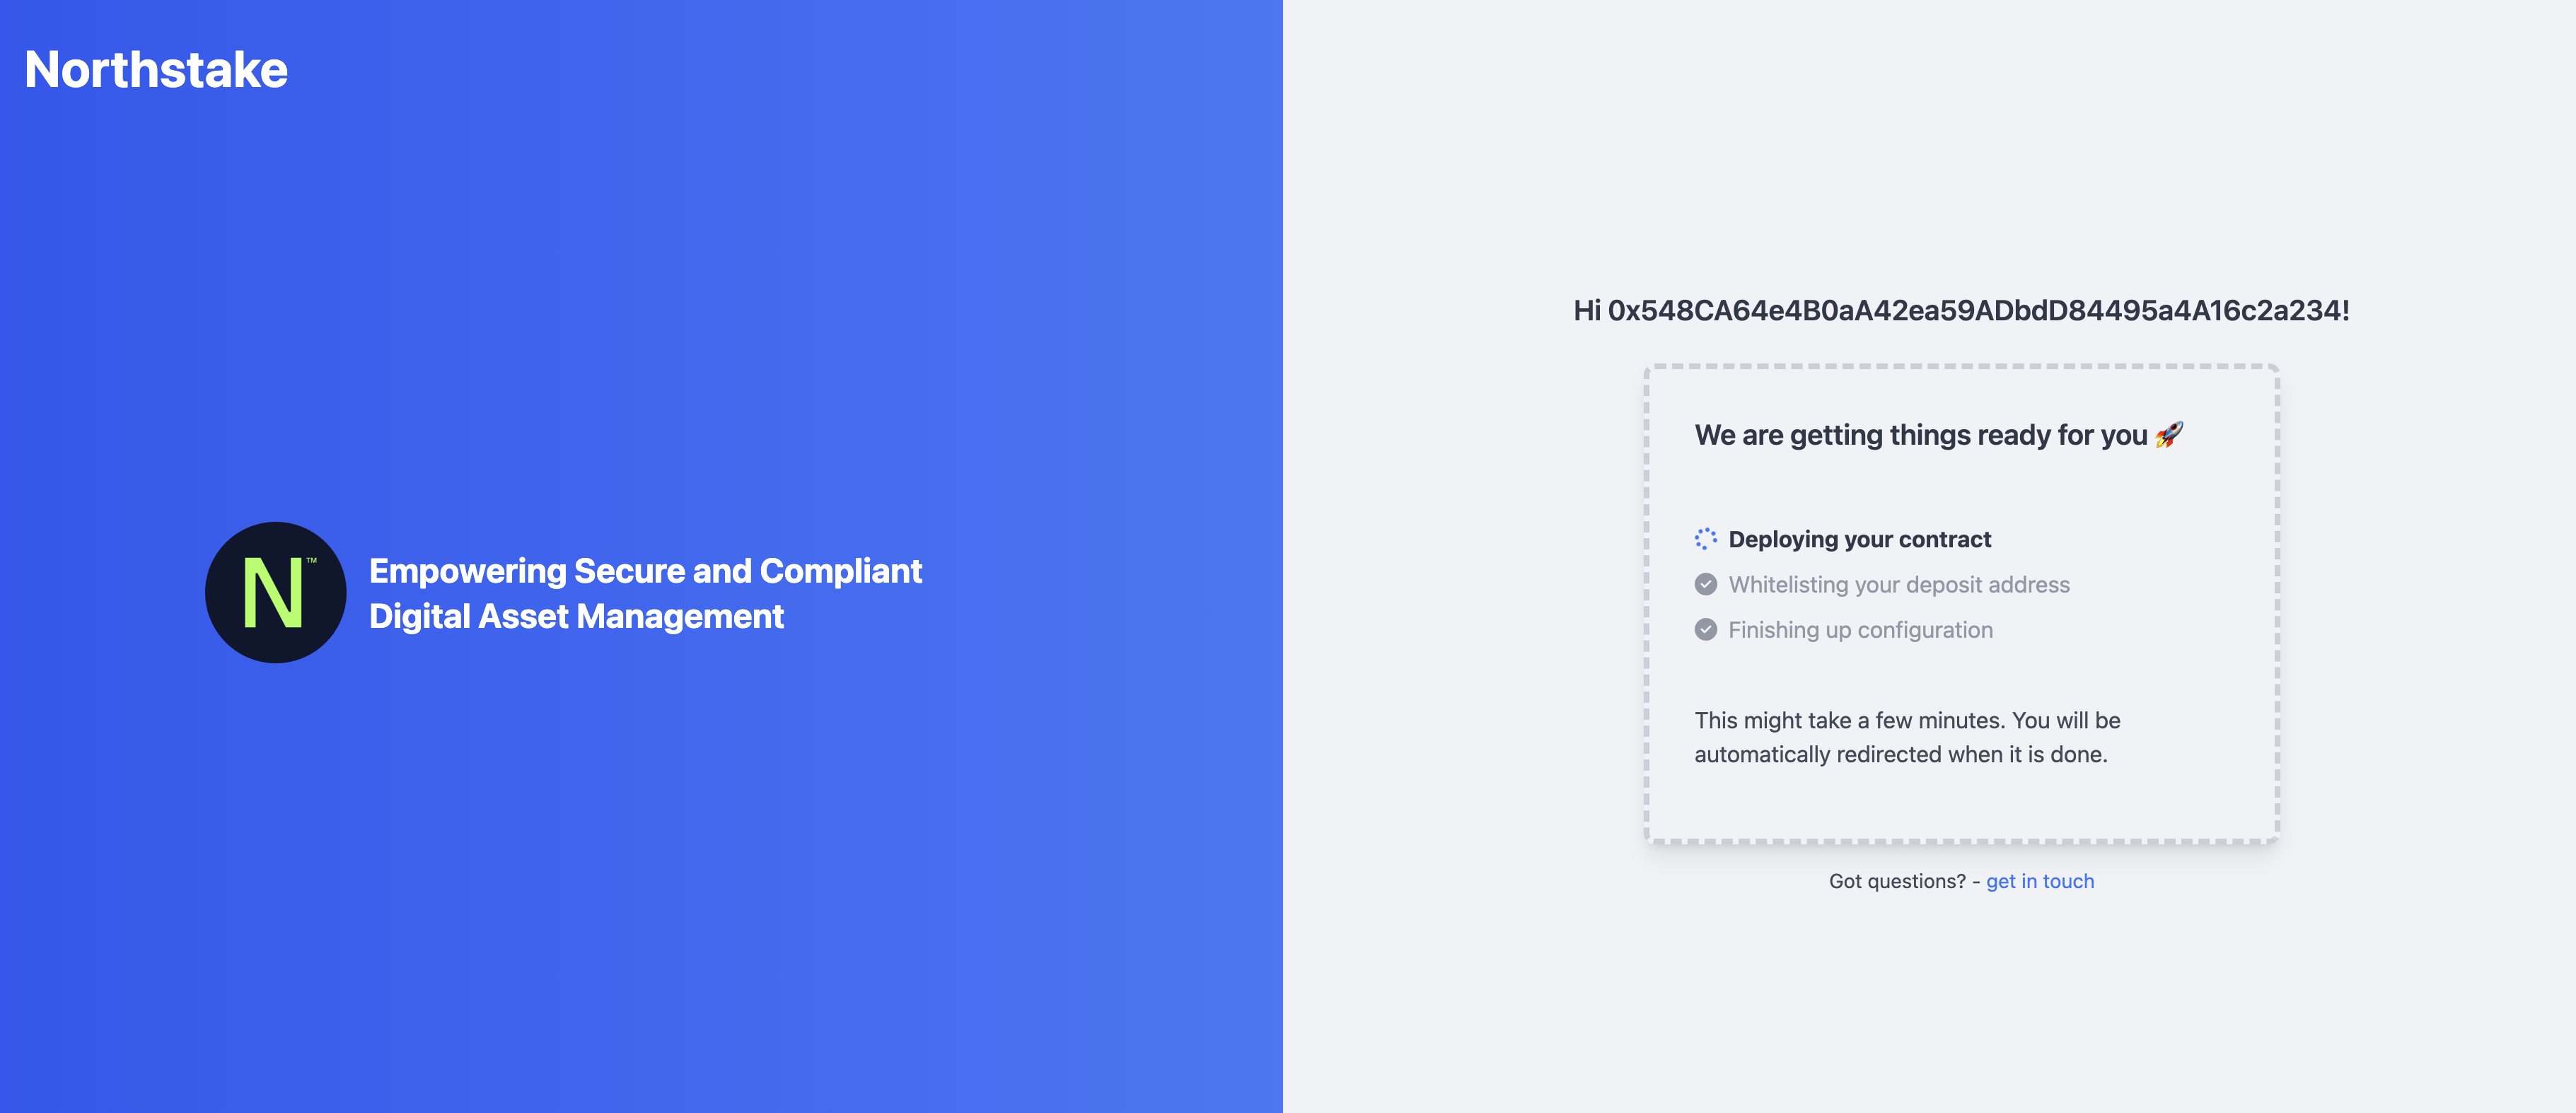
Once the deposit address has been confirmed, the deployment of your dedicated smart contract will be initiated a long with account creation. This might take a few minutes so feel free to get a cup of ☕
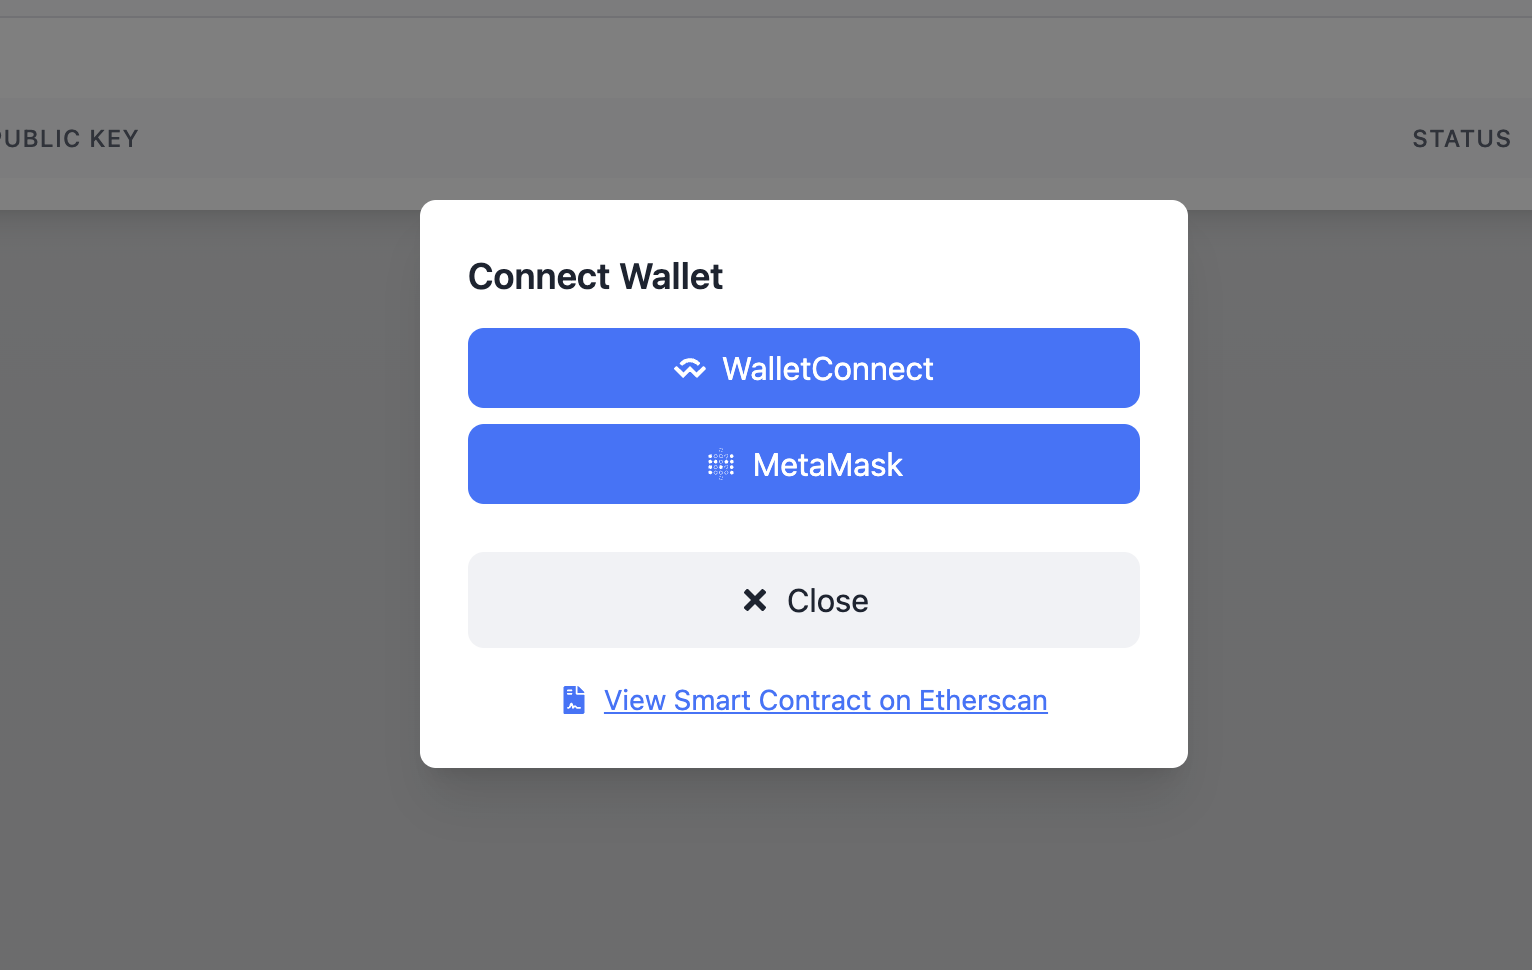
Once the configuration is complete, a landing page will appear as seen in the image below. To start creating validators, connect to the platform using the Web3 button in the top right corner

Connect with your preferred method.
Once connected, click on "Deposit ETH" and enter an arbitrary amount above 32 ETH.

Sign the deposit()transaction in your wallet . After a few minutes, a new validator should show up with the status activating, indicating that it is entering the entry queue to the beacon chain

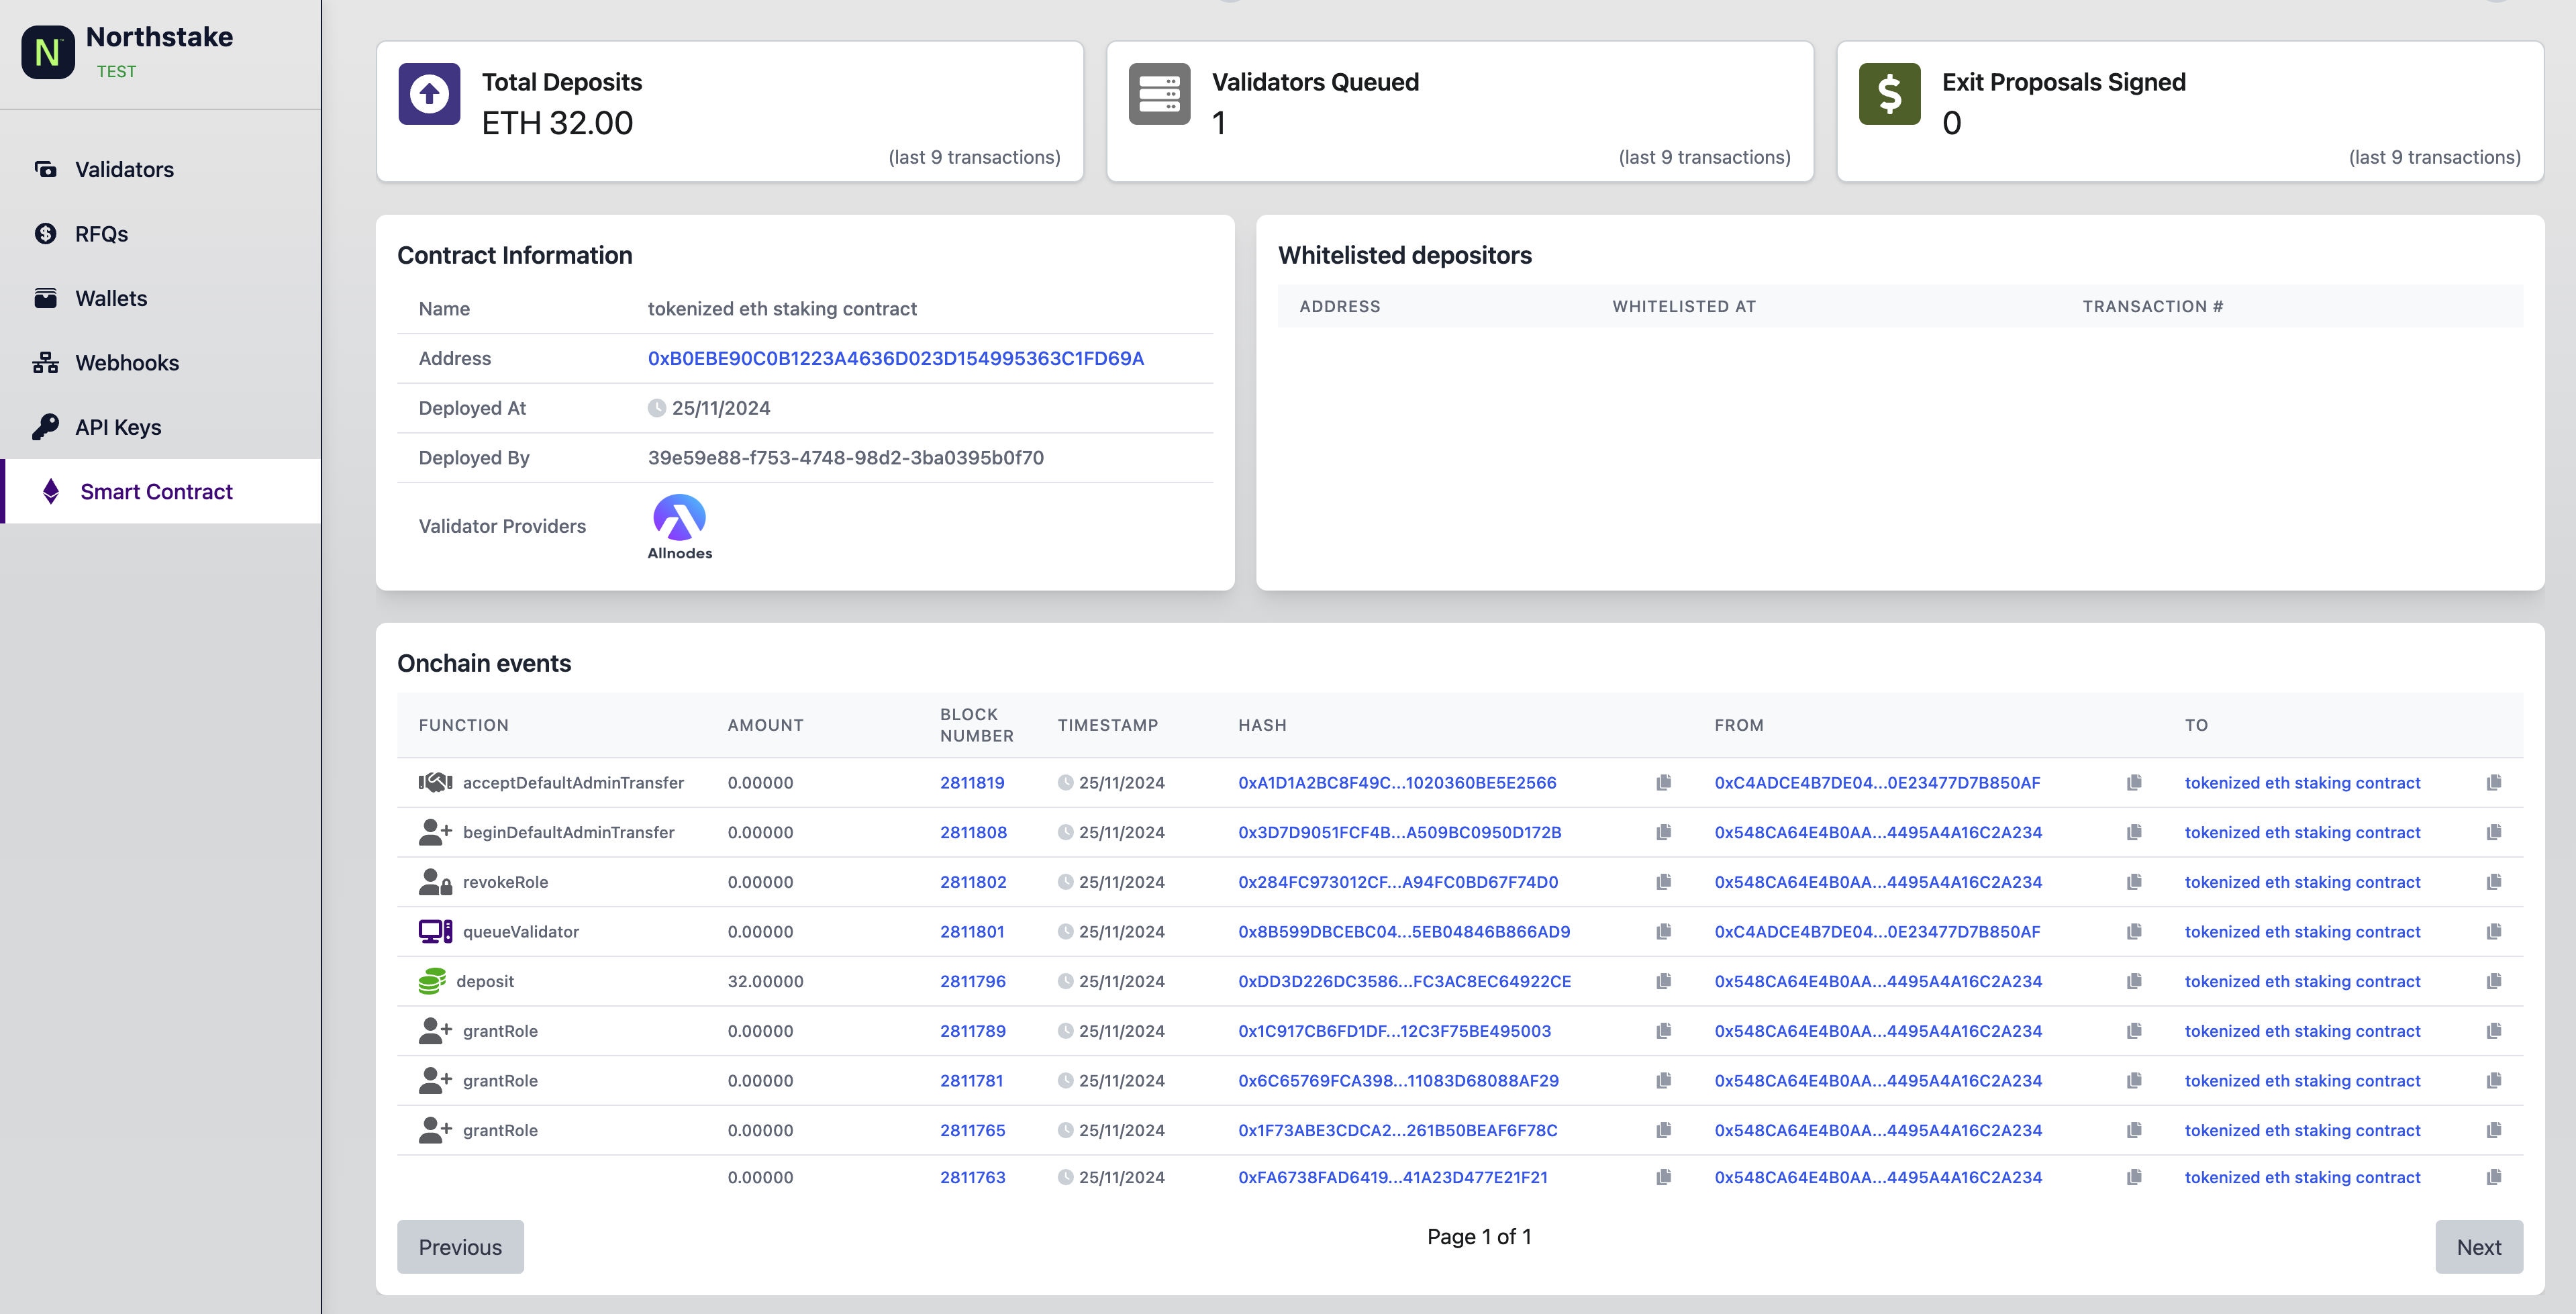
If you want to see more information regarding the roles and general activity on the Smart Contract. You can view all Smart Contract on-chain events by going to the SC tab:
Updated 2 months ago