
Role Management (Access Control)
The Staking Vault Manager allows administrators to grant or revoke role-based permissions for each vault. Role management ensures that operational control—such as initiating staking actions, adjusting configurations, or viewing restricted data—is assigned only to authorized parties.
Grant a Dashboard Role
To grant a role to a user or address, follow the steps below.
1. Navigate to the Relevant Vault
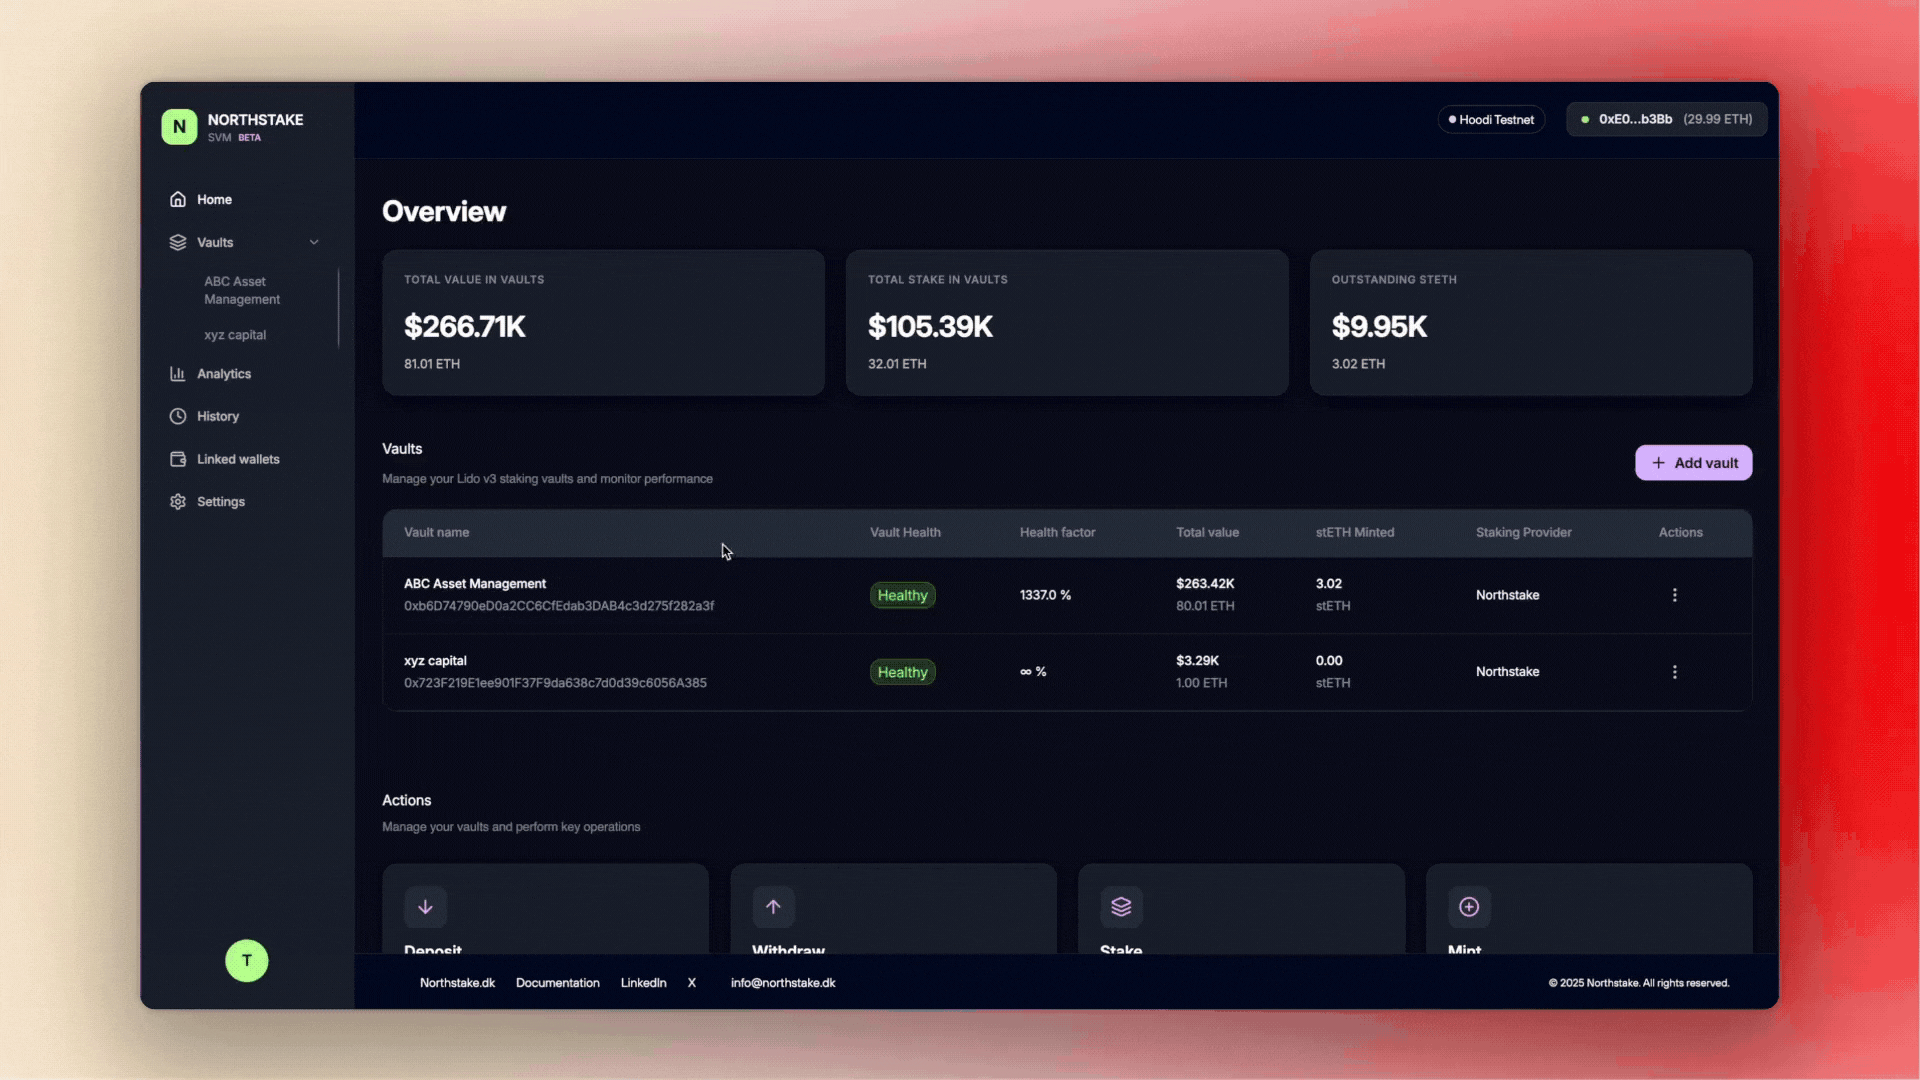
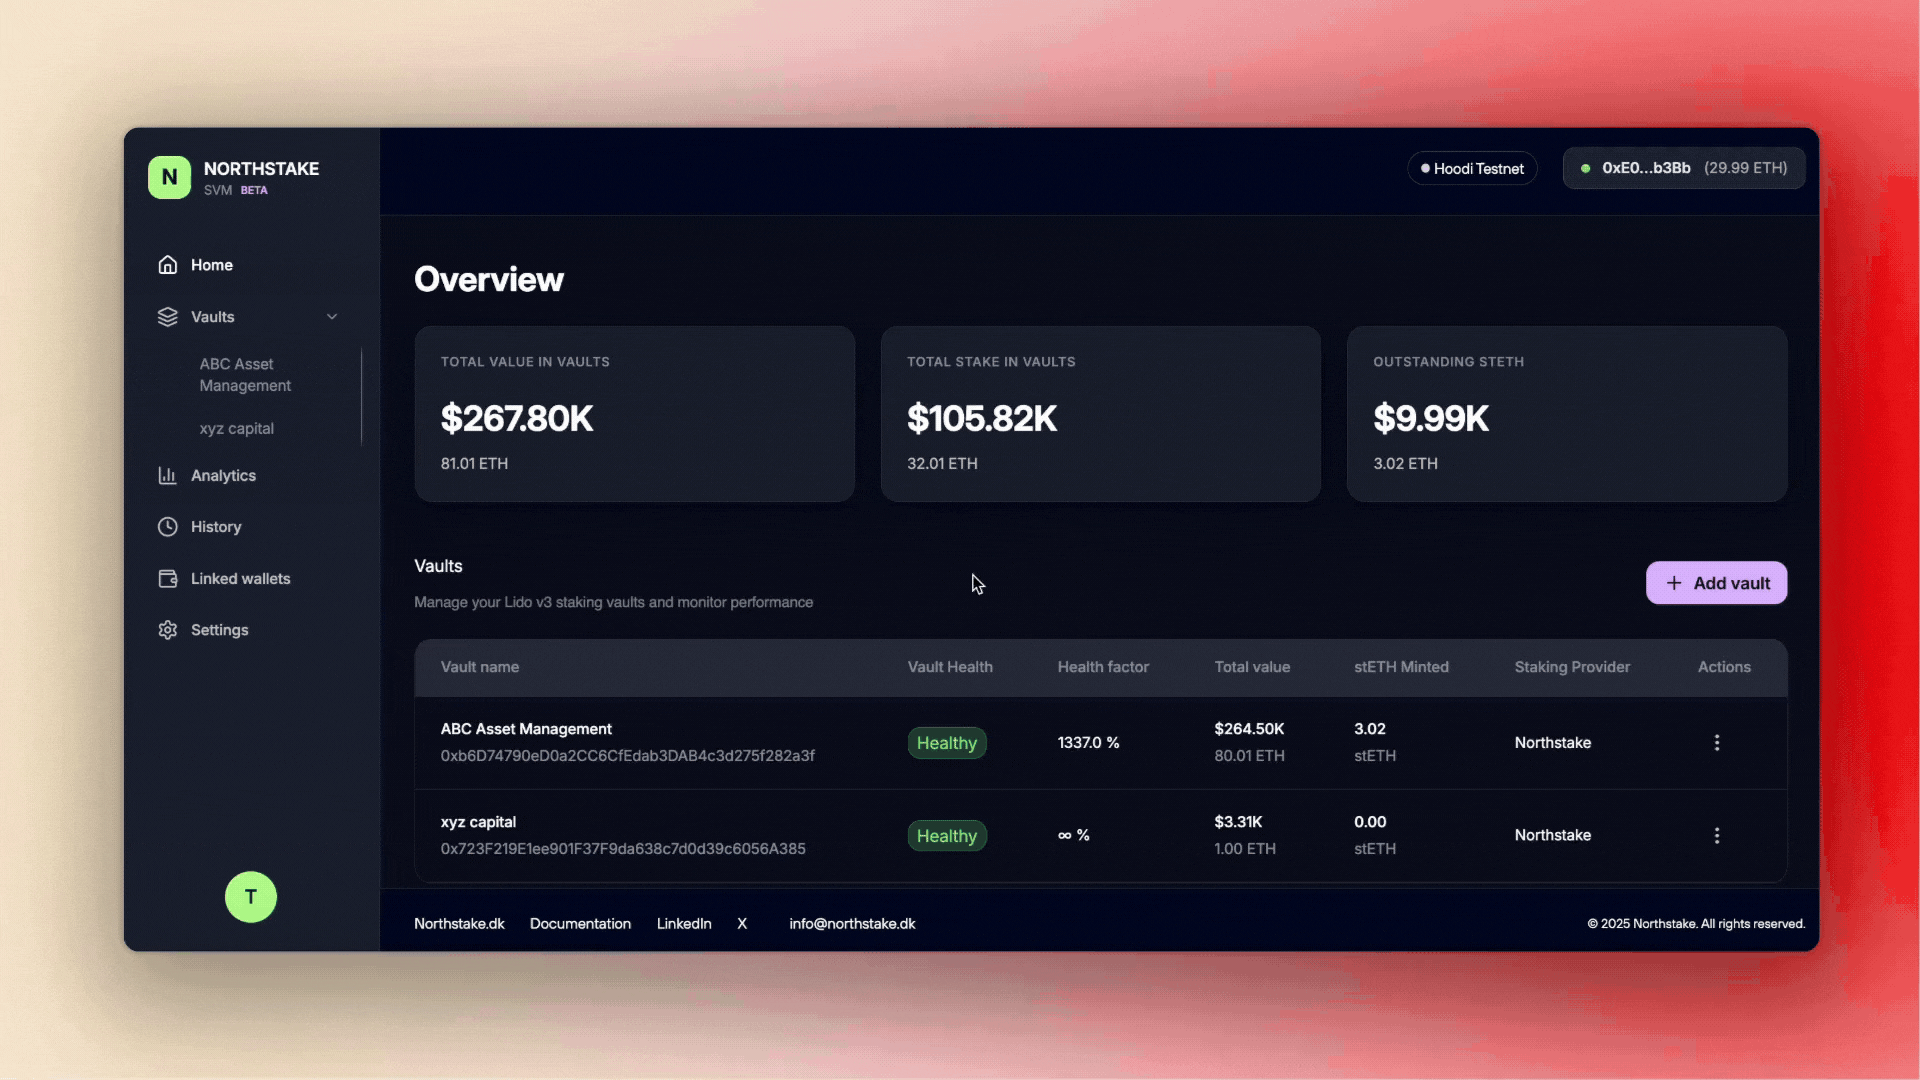
- From the dashboard, select the vault for which you want to manage roles.
- In the vault overview, open the Permissions pane.
2. Initiate Role Assignment
- Click Grant Role
- In the pop-up modal, choose the role you wish to assign from the drop-down menu.
- Click Next.
3. Select the Recipient Address
Choose the address that will receive the role:
- A linked wallet already associated with your account, or
- A custom address entered manually.
Click Next to continue.
4. Review and Confirm
A confirmation screen will display:
- The role being granted, and
- The grantee address.
To proceed, you must acknowledge the operational impact by selecting:
“I understand that granting this role to this address may give control over critical functions.”
Click Sign Transaction.
5. Sign the Transaction
Approve the role-assignment transaction in your connected wallet.
Once the transaction is confirmed on-chain, the selected address will be granted the specified role and the update will appear in the Permissions tab.
Revoke a Dashboard Role
Administrators can revoke previously granted roles at any time to remove access to specific operational capabilities. Revoking a role immediately updates permissions and ensures that only authorized parties retain control over vault functions.
Steps to Revoke a Role
- Navigate to the Vault
From the dashboard, open the vault for which you want to manage permissions. - Open the Permissions View
In the vault overview, the Permissions pane displays all addresses associated with the vault along with their assigned roles. - Initiate Revocation
Locate the address whose role you wish to revoke.
On the right-hand side of the entry, click Revoke. - Sign the Revocation Transaction
A transaction prompt will appear in your connected wallet.
Sign the transaction to confirm the revocation on-chain. - Completion
Once the transaction is confirmed, the role is removed and the update is reflected in the Permissions tab.
Updated 4 months ago